Showing posts with label kids art class. Show all posts

June 5, 2016

Summer Art Camp Live on YouTube! Free Art Lessons!

Please join me on my YouTube channel this week for free online art lessons. I will be teaching live on my YouTube channel each day this week, June 6-10th, 2016 at 12 noon Central.  We will do a new project each day: Ice Cream Cone Drawings, Button Tree Paintings, Peacock Feather Zentangle Watercolors, Mixed Media Butterflies and Silly Giraffe Paintings. Lessons are recommended for ages 5 and up. Hope you can join me live to watch, chat and ask questions. The shows will be recorded and saved on my YouTube channel if you can't make the live stream. 


Follow the links view the videos live or watch the recordings after the shows. 

MONDAY: Ice Cream Cones

TUESDAY: Button Trees


WEDNESDAY: Peacock Feathers


THURSDAY: Butterflies

FRIDAY: Silly Giraffes

Materials List for the 5 projects:
Crayons and/or oil pastels, 
White or Colored Chalk, 
(white, red, yellow, blue, turquoise, green, orange, purple, pink, black, dark brown - whatever fun colors you like), 
Black Sharpie (permanent) markers (fine & extra fine), 
Mod Podge or DecoPage
Scrapbook Papers 6"x6" Pad
Scissors
1/2" Flat Brush, 
1/4" Round Detail Brush, 
3 Canvas Panels (11"x14" or 12"x12") 
2  Watercolor or Mix Media Paper 9"x12"
Bubble wrap (or textured, patterned print-making objects), 
Buttons (various colors, 1or 2 dozen)
Thick craft glue or glue gun
Paper Towels
Water Jar (and water in a spray bottle if handy)

September 17, 2015

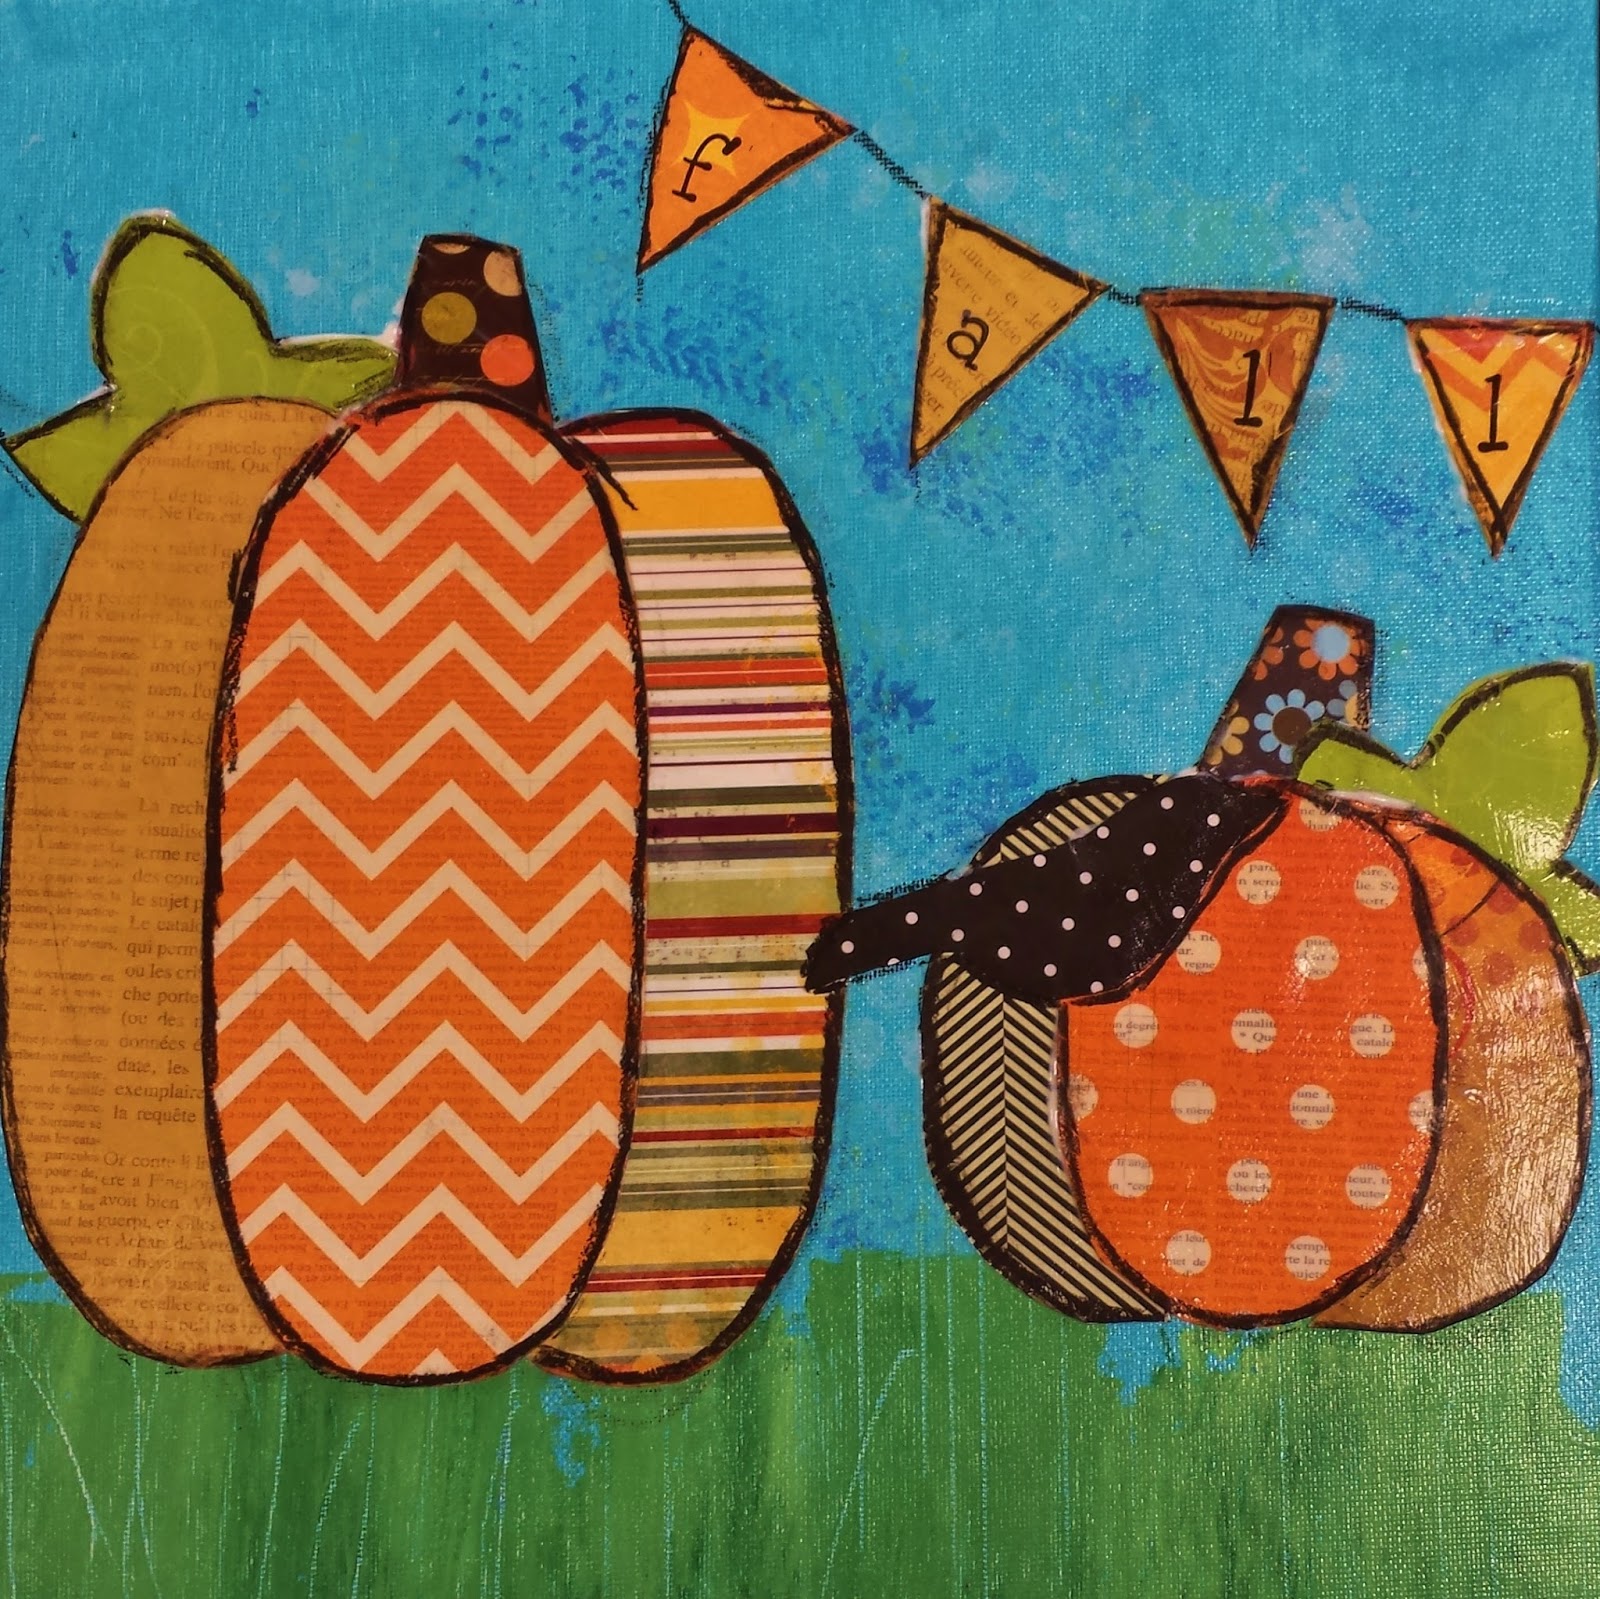
Easy Rustic Pumpkin Mixed Media Artwork Tutorial

Autumn is my favorite time of year.  And pumpkins are so simple and lovely. I did this whimsical little project with my kids art class last fall.  They did such a great job with it. I love how they are all a little bit different.  We painted the backgrounds with light blue and then used bubble wrap & shelf liner to create texture in the sky (using white and blue) and credit cards scraped through wet green paint to make grass. On the "Fall" banners we used stamps with permanent ink (make sure it is waterproof or it will smear when you glue it down). 
I show the rest of the process in my YouTube video here: 


May 15, 2015

Sunflower Paintings - Kids Art Lessons

This turned out to be one of my favorite painting lessons. The kids loved it and they did a great job with their sunflowers. It is super easy. My students are ages 7 - 14.  It took less than an hour and a half to complete it.


Here is my video tutorial for this project:


April 29, 2015

Easy Tree Painting - Kids Art Project


This was a really great painting project I did with my art class. I let them choose a neutral background color and then we painted in the details of the trees with credit cards and sea sponges.  It was a very easy project and the kids did a great job.  We focused on the shadows and highlights on the trees to make them a little dimensional. They also used their fingers to smear paint underneath the trees and sometimes even in the trees.


Here is my YouTube instructional video for this project.


April 28, 2015

Profile Silhouette Collage - Kids Art Project

This is a project I did with my art class back in the fall 2014. I am just now getting around to posting it! This was really fun for the kids.  I think they enjoyed finding images in the magazines as much as anything.  We used canvas panels and mod podge to adhere the pictures, but we could have easily done the whole thing on paper with glue (and I kinda wish we had because the mod podge was pretty messy).

To start with, I took profile photos of the kids the week before and printed them out on a full page sheet.  In class we cut out around the photos leaving a silhouette to use as a template.  I did it this way because we did not have time to try to trace our shadows (and I had a hard time in testing it at home trying to get a good outline that way).  We traced our templates onto a large 12" x 12" scrapbook paper and then onto our 9"x12" canvas panels (making sure to line up the templates in the same place.  Using the outline as a rough guide I had the kids fill in their faces with magazine images and words. They used mod podge to glue the pieces onto the canvas panels (going over the outline so that the edges would be covered). While they worked, I cut out all the silhouettes and trimmed down the scrapbook paper to 9"x12".  To finish they again used mod podge to glue down the scrapbook paper outline of their face which covered up all the rough edges and made a clean silhouette.  We used up all of our 1.5 hour time slot.  The kids were very creative with their image choices.  Some were pretty funny (see BACON).  The photos are a little cloudy because the mod podge was still drying.