Showing posts with label zentangle. Show all posts

June 5, 2016

Summer Art Camp Live on YouTube! Free Art Lessons!

Please join me on my YouTube channel this week for free online art lessons. I will be teaching live on my YouTube channel each day this week, June 6-10th, 2016 at 12 noon Central.  We will do a new project each day: Ice Cream Cone Drawings, Button Tree Paintings, Peacock Feather Zentangle Watercolors, Mixed Media Butterflies and Silly Giraffe Paintings. Lessons are recommended for ages 5 and up. Hope you can join me live to watch, chat and ask questions. The shows will be recorded and saved on my YouTube channel if you can't make the live stream. 


Follow the links view the videos live or watch the recordings after the shows. 

MONDAY: Ice Cream Cones

TUESDAY: Button Trees


WEDNESDAY: Peacock Feathers


THURSDAY: Butterflies

FRIDAY: Silly Giraffes

Materials List for the 5 projects:
Crayons and/or oil pastels, 
White or Colored Chalk, 
(white, red, yellow, blue, turquoise, green, orange, purple, pink, black, dark brown - whatever fun colors you like), 
Black Sharpie (permanent) markers (fine & extra fine), 
Mod Podge or DecoPage
Scrapbook Papers 6"x6" Pad
Scissors
1/2" Flat Brush, 
1/4" Round Detail Brush, 
3 Canvas Panels (11"x14" or 12"x12") 
2  Watercolor or Mix Media Paper 9"x12"
Bubble wrap (or textured, patterned print-making objects), 
Buttons (various colors, 1or 2 dozen)
Thick craft glue or glue gun
Paper Towels
Water Jar (and water in a spray bottle if handy)

September 2, 2015

Floral Deer Silhouette Painting Video Tutorial


This was an especially fun painting. I did it live on YouTube as part of the #PawgustArt (Animal Theme) event that was hosted by the Creative Arts Collaboration group I belong to. This was my first time doing a live stream painting event and it was a lot of fun. I will show links to my full length video and the shorter time lapse one below.


First I found a deer image from the internet and traced it's outline. Notice I did not include the whole neck and I thickened up parts of the antlers and adjusted the ear a little so it was not so close to the antlers.  Then using graphite paper I transferred my outline to my sketch book.


I sketched out the flowers and leaves using the outline of the deer as much as possible. I also incorporated the eye and nose as parts of leaves and flowers. Fit your details inside the outline and fill all the empty spaces if possible without overlapping much.  Then trace out your design leaving out the original outline.  Transfer this to your mat board or other surface with graphite paper (I used white graphite for my dark grey background).

I sealed the Mat Board (just a scrap from a frame shop) with Clear Gesso and lightly sanded it to give it a distressed look. It also protected the background from water and paint drips. I used Golden Fluid Acrylic Titanium White to paint in my details. You could use a white marker or other color paint as well.

Shorter Time Lapse Version

Full length Event Video

September 16, 2014

Peacock Feather Zentangle - Kids Art Class

My kids art class did a really fun peacock feather zentangle drawing last week.  We used watercolor paper for our background and sharpies to do the outlines and patterns of the feather.  Then we colored in the design with watercolor pencils.  They turned out really beautiful. We attached the finished paintings to mat board.


March 11, 2014

Butterfly Watercolor Paintings - Kids' Art Class

This was the first project of my Spring art class.  The kids did an awesome job. I provided several butterfly photos to show a variety of colors and wing designs. Then, I showed how to sketch a basic butterfly, including wing veins. Once they had a drawing they liked, I had them trace one half onto tracing paper, fold down the middle of the body, then trace the opposite side to make a perfectly symmetrical butterfly.  They then traced it onto their watercolor paper with graphite paper.  Sharpie markers and watercolor pencils were used to finish their paintings. 


October 3, 2013

Pumpkin Zentangle - Kids Art Class

My kids art class started off our fall schedule with a fun pumpkin zentangle.  I showed them how to draw a simple dimensional pumpkin and how to layer them to create a grouping.  And then they were able to fill in the spaces with different patterns.  We used sharpie markers so that the ink wouldn't bleed when we added watercolors.  I showed my students how to layer colors with watercolor pencils (darker colors in the creases and along edges, lighter colors in center) and then they added water to blend.  They did such a good job with their drawings that I had several parents ask if they really drew them!  What a compliment!  They did it all on their own (what's the point in taking a class if the teacher does all the work?).  I have found that kids can do just about any project as long as you take time to break it down into easy steps. And it doesn't hurt that I have some super talented kids too!

Here is my YouTube Tutorial for this project.

May 1, 2013

Name Zentangles - Kid's Art Class

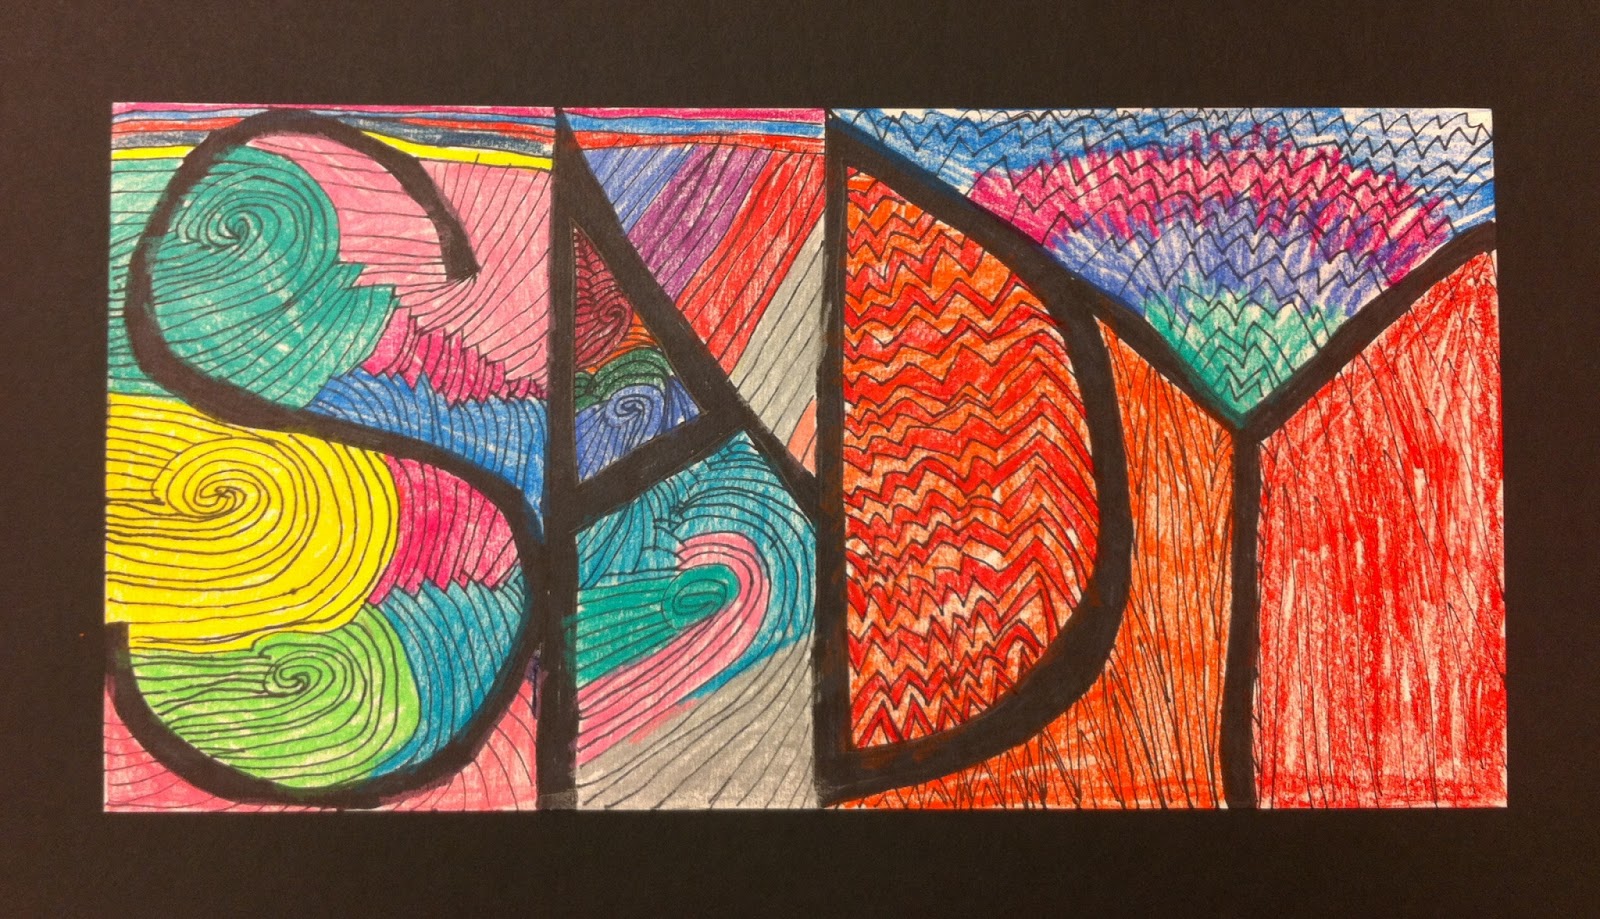
I LOVE Zentangles!!  So fun.  When I saw this idea on Pinterest I just had to do it with my art classes.  I used photoshop to create an example for each student (ages 7-14) to help them place their letters.  They did the lettering on trimmed cardstock and used sharpies and colored pencils to create the designs (rulers helped too).  Then I mounted them on black mat board to make the colors pop.  It was a great, low-stress project and the kids loved the results.

 ERICA

 EMILY

 HALEY

 ABBIE

 KARLEE 
(gotta love the mustaches!)

 MYAH

 SPENCER

 BILLY

 DREW

 ADELINE

 SADY

 ELIZABETH

 KATIE

MICHAELA

February 21, 2012

Owl Zentange Pen & Ink Watercolor

My after school art class did some adorable owl "zentangle" pen & ink watercolor paintings today.  The girls did an awesome job!  I showed them two different ways to draw their basic owl shapes, then let them fill in with random patterns.  Once they finished inking their drawings, I showed them how to do a wet-on-wet blending technique with watercolors.  They turned out beautifully!


by 9 year old

by 8 year old

 by 12 year old

 by 12 year old

 by 8 year old

 by 9 year old

by 10 year old

 by 11 year old